12/11/2018 – 16/11/2018 Week 8

Research sources List:
Google: Googled references Images in order to create a moodboard and colour scheme to work from.
Youtube: Youtube tutorial on ‘How to make a fake anime’ which inspired me to use compositing on After Effects.
Development
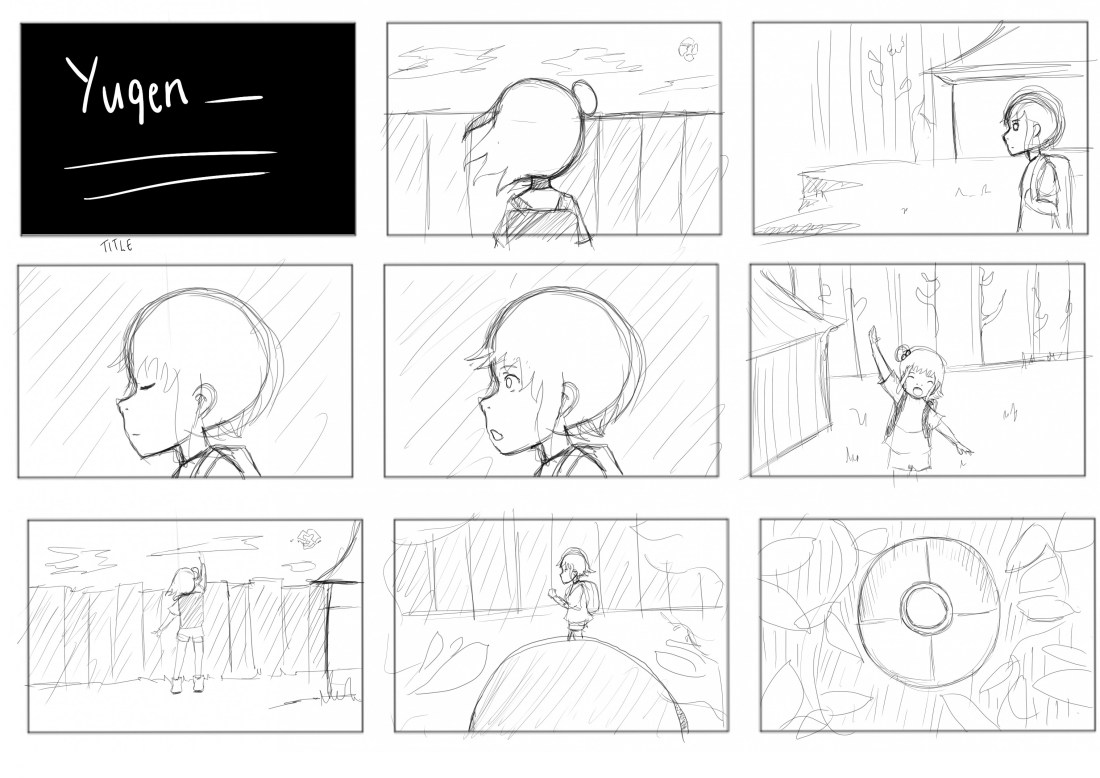
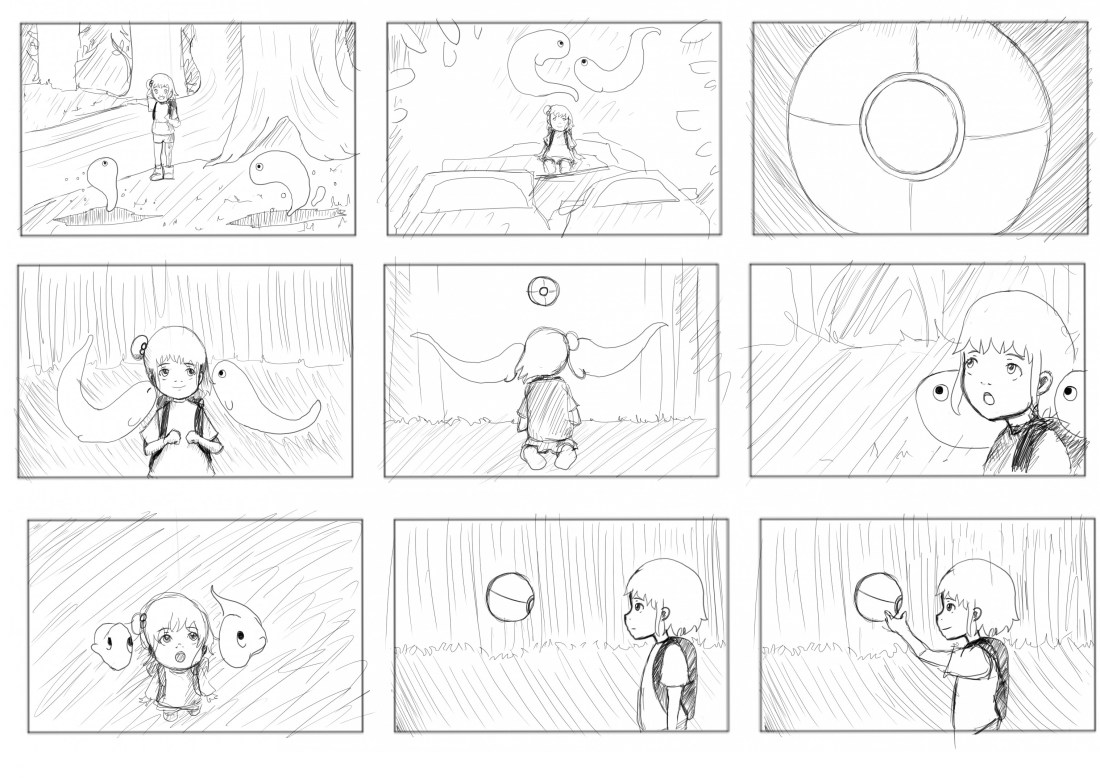
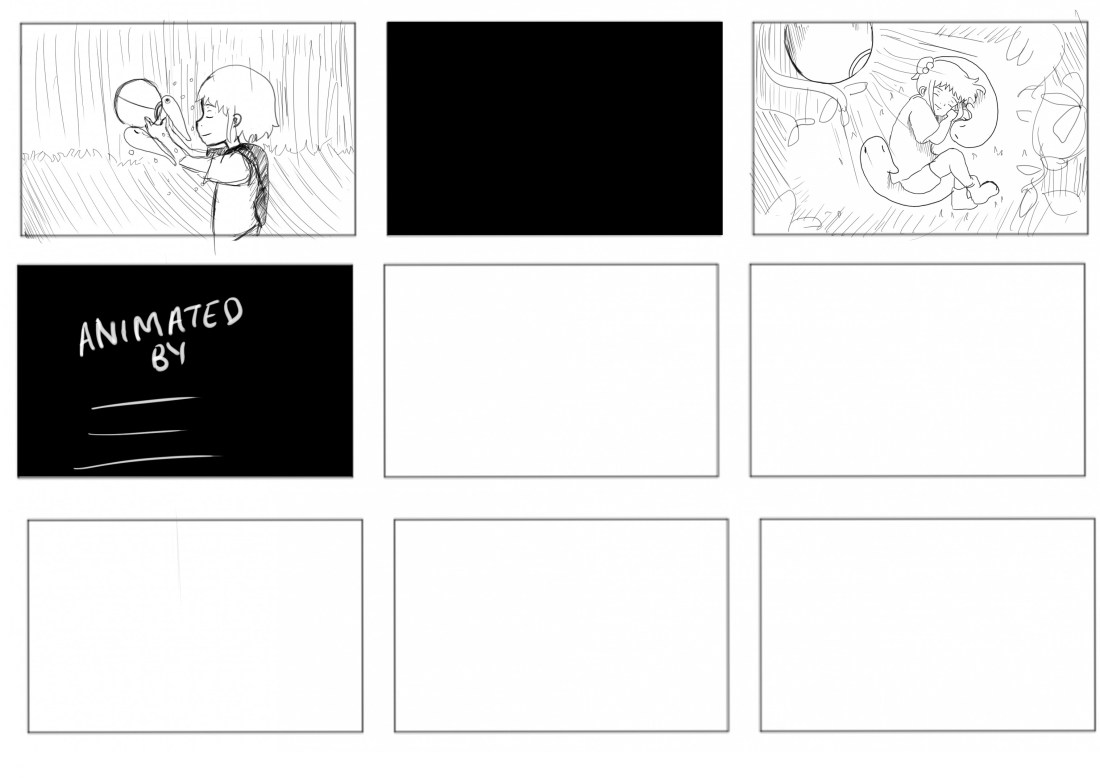
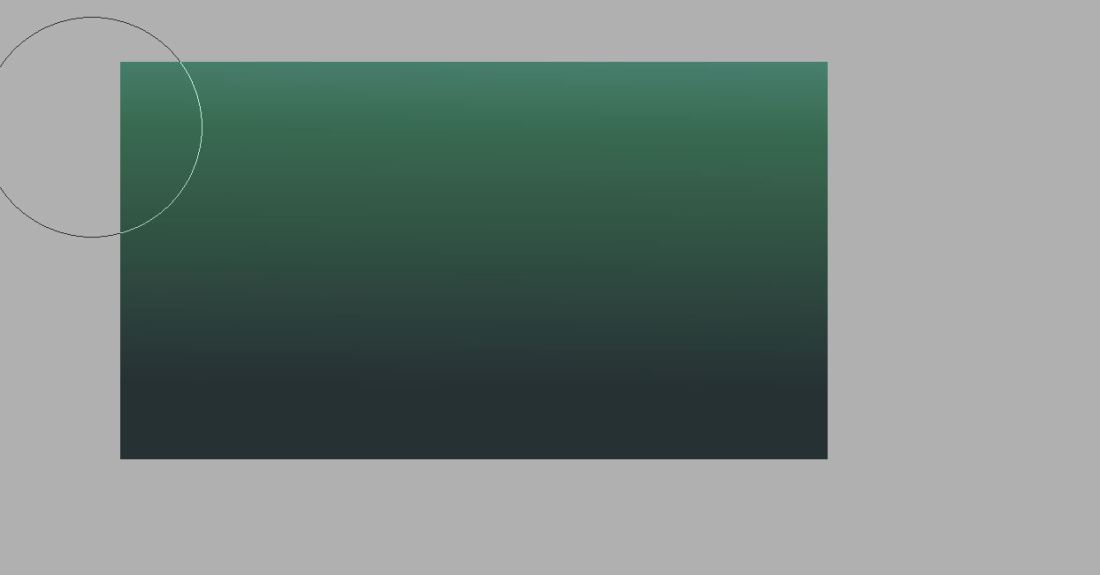
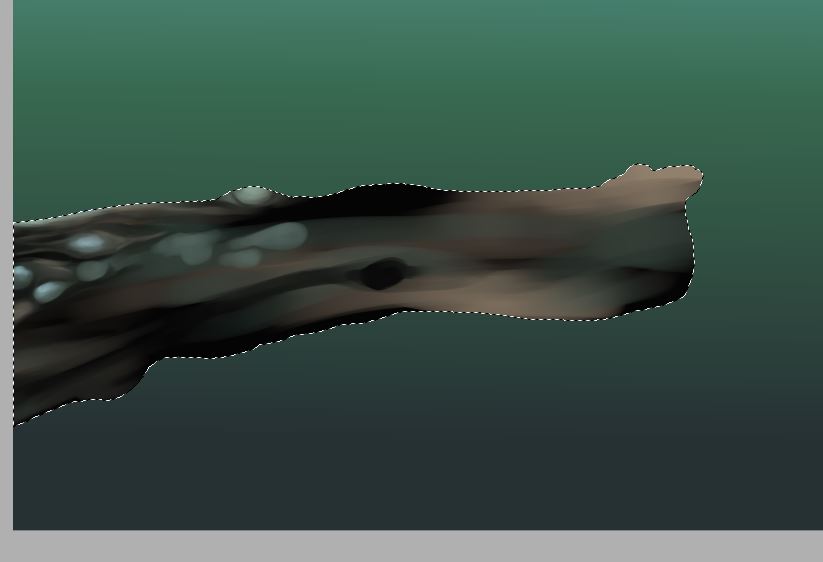
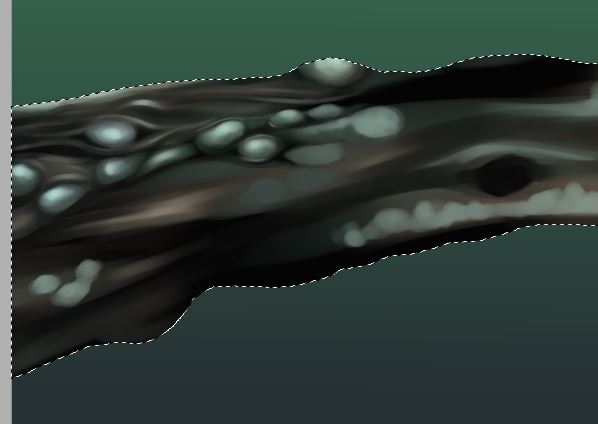
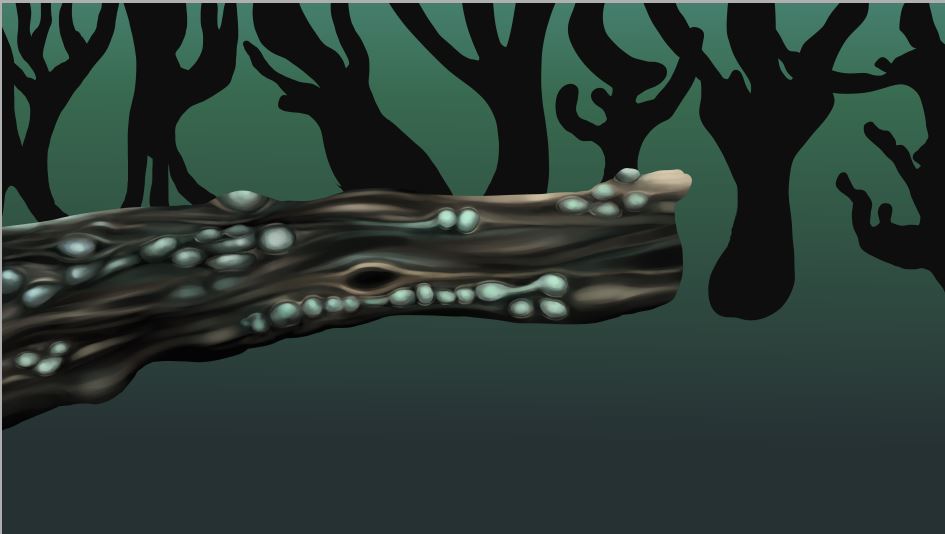
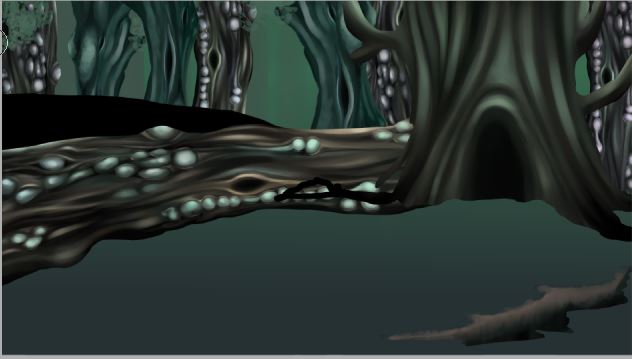
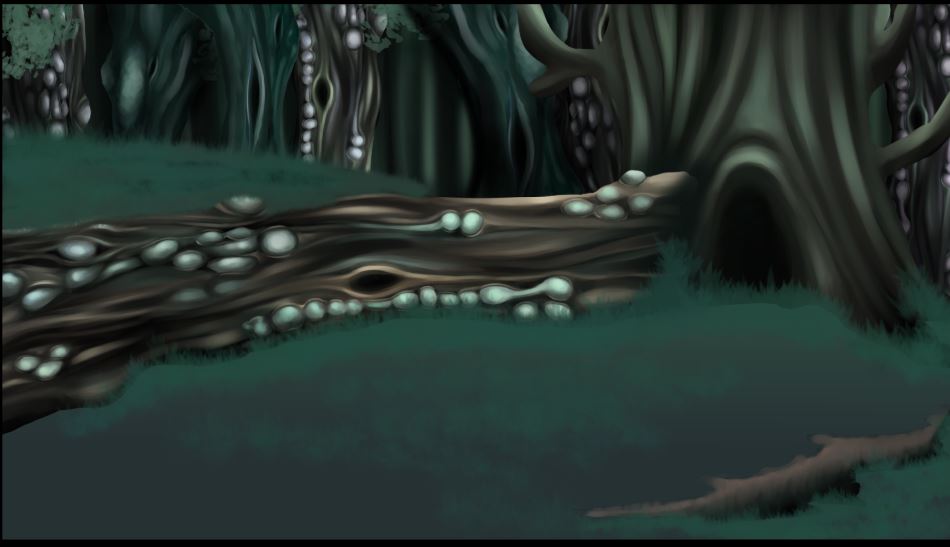
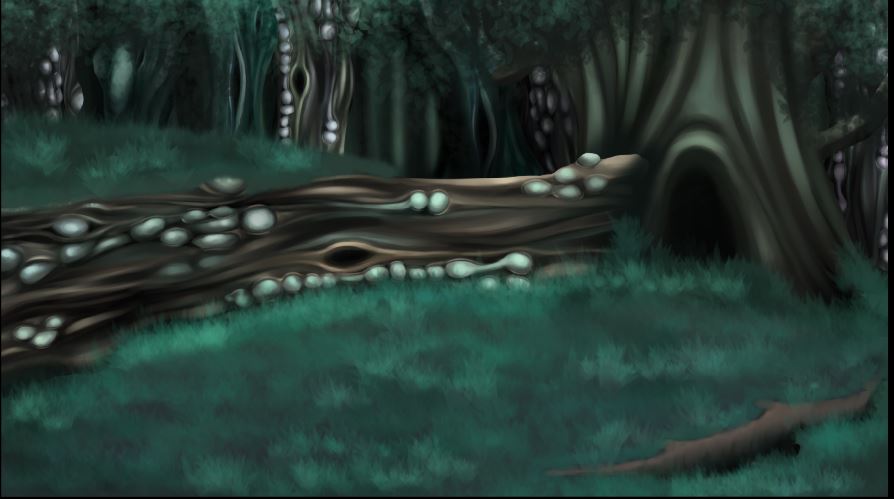
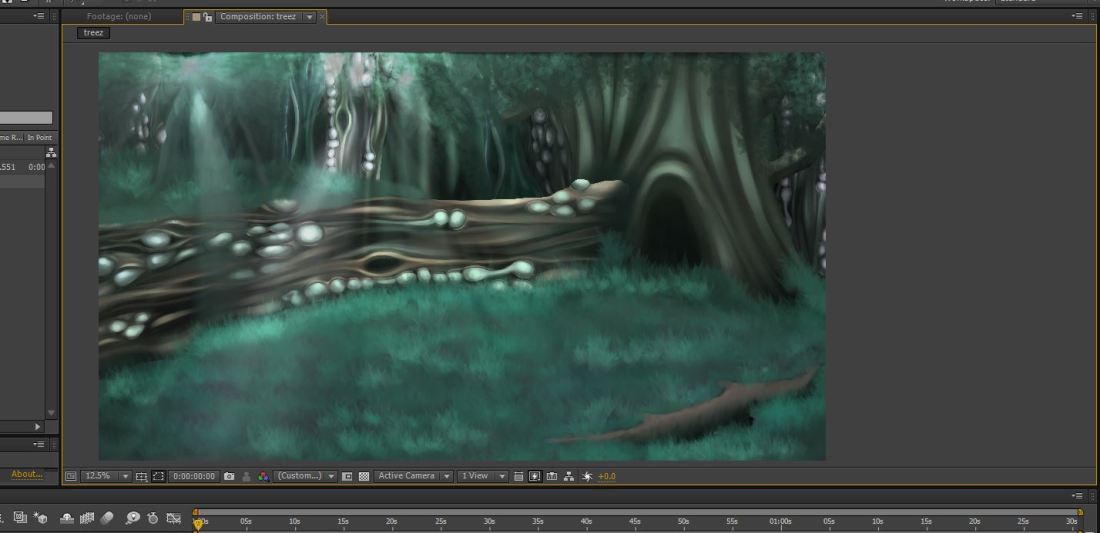
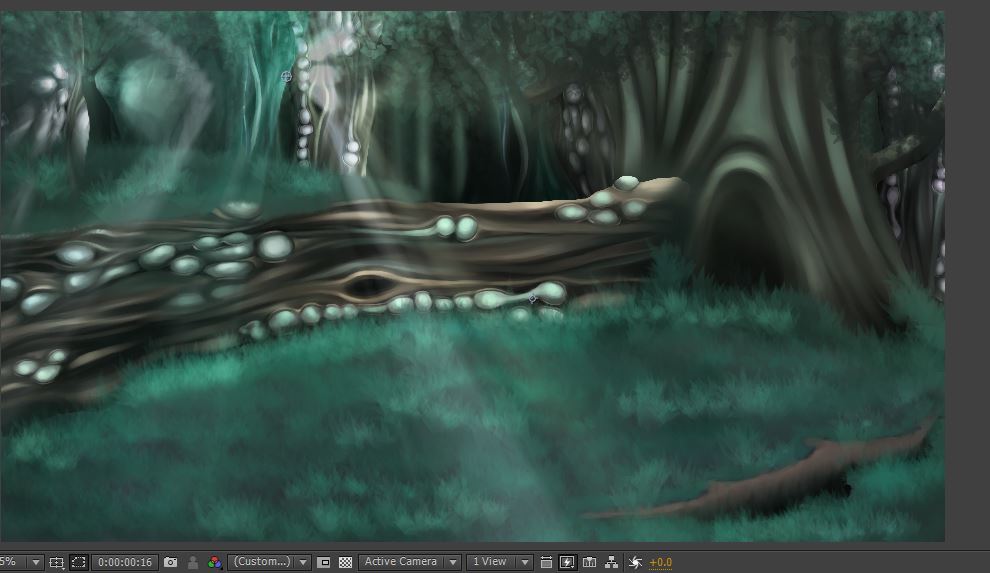
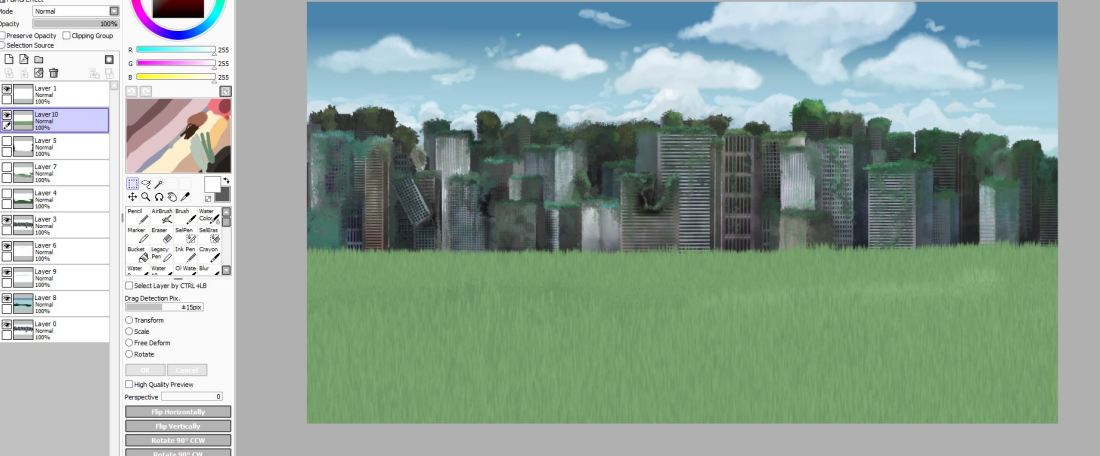
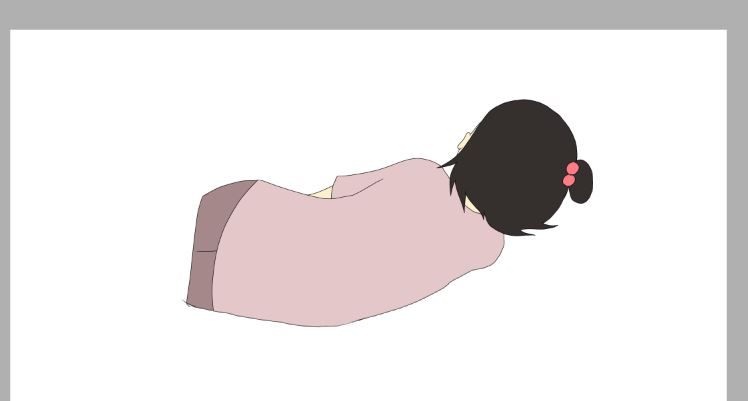
This week has been productive, I have managed to create my final designs for all of my characters especially in regards to colour as that was something I was still pondering over. I have also redone my storyboard which is alot clearer and easier to work from which not only means I can start my final animatic but also start to create finished and rendered backgrounds to use for the final piece. This week I created a background with the aid of my moodboard and colour script and went as far as to composite it into After Effects and start playing around with lighting effects and pixel effects. I am still rather unfamiliar with the workings of After Effects but I’m pleased with the experimentation I have created. I’ve also began animating a few scenes and managed to render and finalise an idea that I’ms still not sure If I’m going to bring back into my final piece or keep as an experiment. However this piece with my main character sleeping in the background (which was an idea I had for a previous storyboard) has taught me how to uses masks, lighting, blur effects (which I did in photoshop) and much more.
Strengths
I’m now starting to see how my concept as a whole can come together, I feel that the clarity of my storytelling is there and is reflected through the way I have chosen my scenes, character expressions and camera angles. I’m starting to feel positive about the render experimental scene which I can’t wait to start adapting to the rest of my scenes and begin to finalise my character animation.
Areas for Development
Although I thought logically I could get the backgrounds done first before attempting a fully rendered animatic as process wise I wanted to logically create the background and the animated scene at the same time before putting them all together. I’m now concerned that I should perhaps do the whole animatic as the requirement for this brief is to have 10 Minimum seconds rendered and the way in which I’m going is attempting to animate the whole animation. I need to instead create my whole animatic and then select the area I wish to animate and if time allows it animate more.Research sources List:
Google: Googled references Images in order to create a moodboard and colour scheme to work from.
Youtube: Youtube tutorial on ‘How to make a fake anime’ which inspired me to use compositing on After Effects.


New Storyboard

Final Storyboard

I had to be realistic, I really loved a lot of the scenes in my original storyboard draft but it just wouldn’t have worked out time-wise as I had so many scene changes that weren’t necessary for communicating across my message for my fable. I think that is the key thing to remember that this project is to communicate a message/moral and therefore I do need to be thinking how I can make sure that I have enough of the key scenes for the story to be conveyed clearly.

So for a while, I was contemplating having quite an interesting title for my opening, I wanted to have my young character asleep in the background with her backpack up close to the camera, then the next scene would be a close up on the backpack which would have the word ‘Yugen’ written on it. The screen would then turn black and the story would begin. As much as I loved this idea and if I do decide to come back and work on this animation I will try and incorporate this back in, however I realised time-wise it was not to work having such an extended opening and then have the rest of the scenes especially the ones at the end have enough  time to get across the central message of the fable.

storyboard final 1.jpg

storyboard final 2.jpg

storyboard final 3.jpg

Extra Background Concepts


I really wanted to attempt at creating this background, I had envisioned it since the beginning of this project, although it’s not going to be a part of my final rendered 10 seconds it can still be a part of my progress and I do want to come back and work on this project after submission.

I created the background using the brush tool on low opacity to create the ombre effect.p1.JPG

So to begin with I created the tree in Paint Tool Sai, I start with a basic black shape that I added to using the brush and marker tools which I start to carve out the texture of the tree and the shadow and highlights.

p2.JPG


I then start to go in with a smaller brush tool to start picking out the details and giving the tree a sharper and more realistic look. Of course, this isn’t going to be a normal tree as it’s a part of my nature-apocalypse so I wanted to create some spore-like shapes and bulges on the side with a glowing light.

p3.JPG


Now that I have my finished tree I need to map out the rest of the background, i worked from my storyboard so I was aware on where I needed to place the rest of the forms.

p4.JPG

I decided I didn’t want to waste time redrawing completely new trees as this one took long enough so I copied the layer and played with the colour and brightness to create different effects. I also had a tree saved from the beginning of the project which I also used to add a different layer  of texture.

p7.JPG

p8.JPG

p9.JPG

Similar to my other experiments with layering and backgrounds I just continued to build and build on the layer until I had all the necessary components. I then played around with the lighting until I got what I liked and then also played with the particle creator to try and make a spore like substance.

p10.JPG

p11.JPG

Background Compositing

As you can see I simply painted and created my layers in Paint Tool Sai and then for the layers such as the grass, foliage, and clouds, I created these in PaintStorm. So what I did was I would collect all my PNG layers and layer them in PTS to make sure that I was happy with the final look and that there weren’t any mistakes that needed tweaking. After that, I simply saved each file as a separate PNG before adding them into After Effects

kkk.JPG

In regards to the animating I would create the animation in TVPaint, go through all the steps such as keyframes and then outlining, however this wasn’t a very hard animation and the main purpose of this was to check out the compositing and to get a sense on what my final piece was going to look like. Once I had rendered and coloured the animated character I would then export it as a PNG animation and import it straight into After Effects. Then after I have all my components I start to layer them up and figure out what adjustments are needed.

iuiuiyu.JPG